
Cupping is the heart of specialty coffee evaluation, a practice where we explore flavor, balance, and aroma with precision and care. At Indonesia Specialty Coffee, we believe that a well-prepared cupping session is essential to understanding the full potential of each bean. This guide, curated by our Certified SCA Q Grader, Mr. Herry, walks you through the process from start to finish.
1. Start with the Right Water
Cupping starts with the basics—boiling water. The temperature of your water plays a big role in extraction.
- Boil clean, filtered water to 100°C
- Let it rest for 1 minute until it cools to around 95–96°C—the ideal range for cupping
This ensures proper extraction without burning or under-extracting the coffee.
2. Measure and Grind Your Coffee
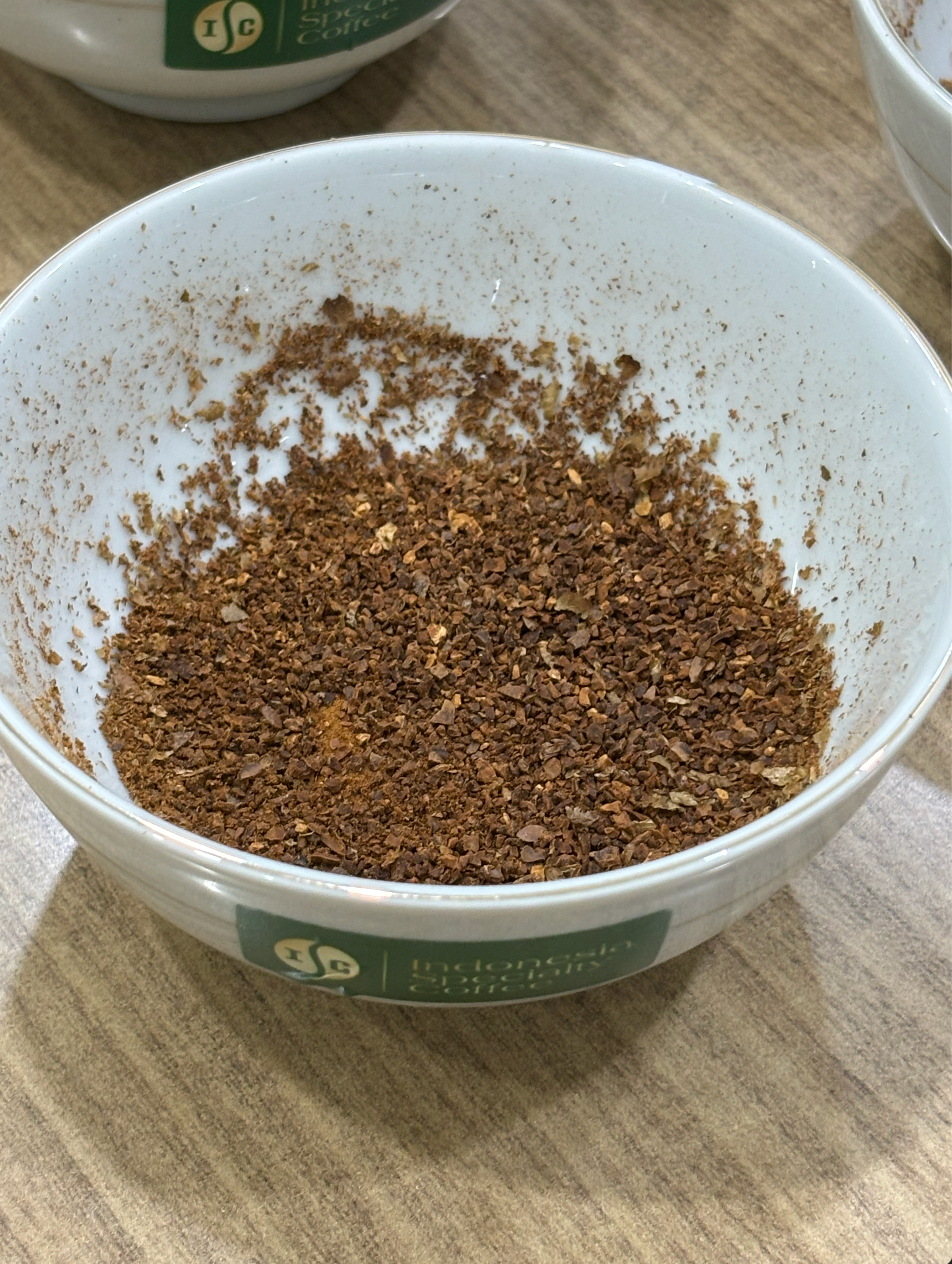
For each cup:
- Use 12–15 grams of coffee (ideally 12g for standard 200ml cups)
- Grind size: Coarse (similar to sea salt)
- Roast level: Medium roast is recommended to bring out balanced flavor profiles without overpowering acidity or body.
Important grinder tip:
If you’re using the same grinder for multiple coffees, always “purge” the grinder before switching beans. This means:
- After grinding the first bean type, grind 2–3 grams of the next coffee before grinding the full amount.
- Discard this purge grind—it’s used to clean out residual grounds from the previous batch and avoid flavor contamination.
3. Serve Multiple Cups per Sample
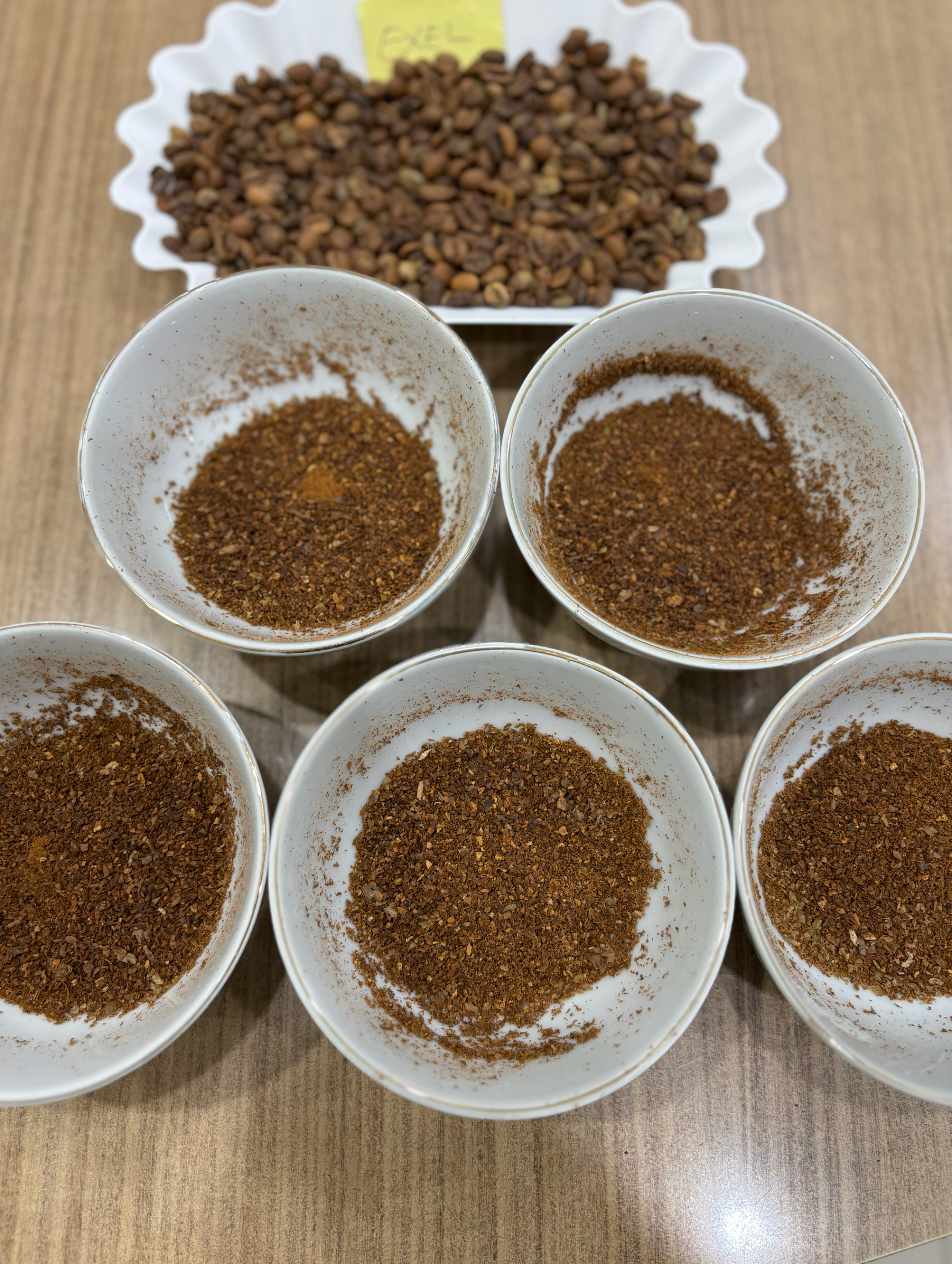
To evaluate coffee properly:
- Prepare 5 cups per variety (Yes, five!). This allows you to check for consistency and balance across each sample.
- You’ll also need cupping spoons そして a glass of water to rinse your spoon between cups—clean palate, clean tool.
This method helps identify if a defect appears in only one cup or is consistent across the board.

4. Pour and Steep
Once your grounds are ready:
- Pour hot water into each cup, just off boil (~95°C)
- Don’t stir. Just let it sit.
- Wait 4 minutes—this allows full extraction of the flavors, aromas, and body.
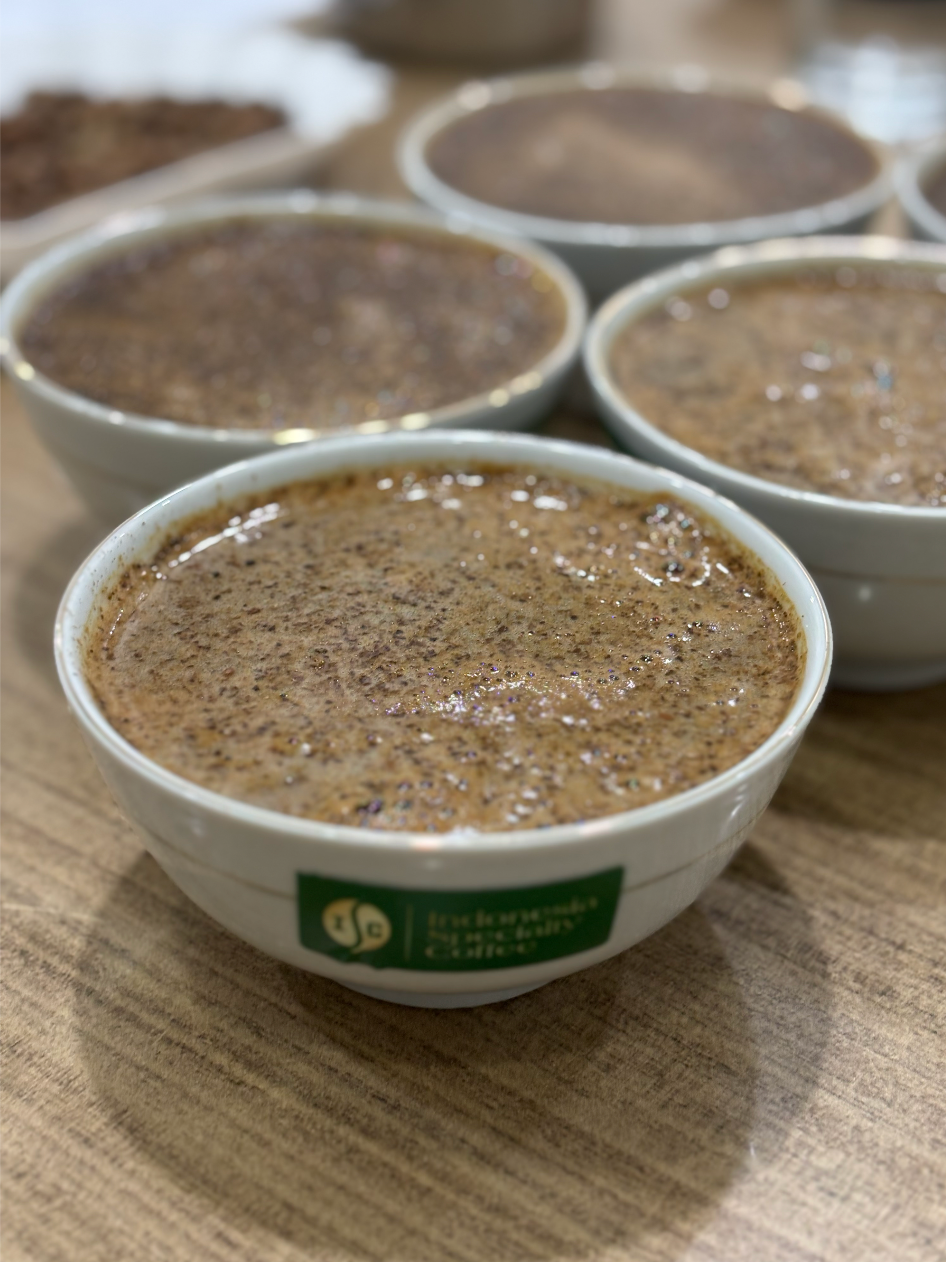
5. Break the Crust
After 4 minutes, a layer of coffee grounds (called the crust) will form on the surface:
- Use a cupping spoon to gently break the crust by stirring three times
- Take a moment to inhale the aroma released during this stage—it’s a key part of cupping evaluation
- Remove the foam and any floating grounds on top using your spoon
Now the coffee is ready to be tasted.
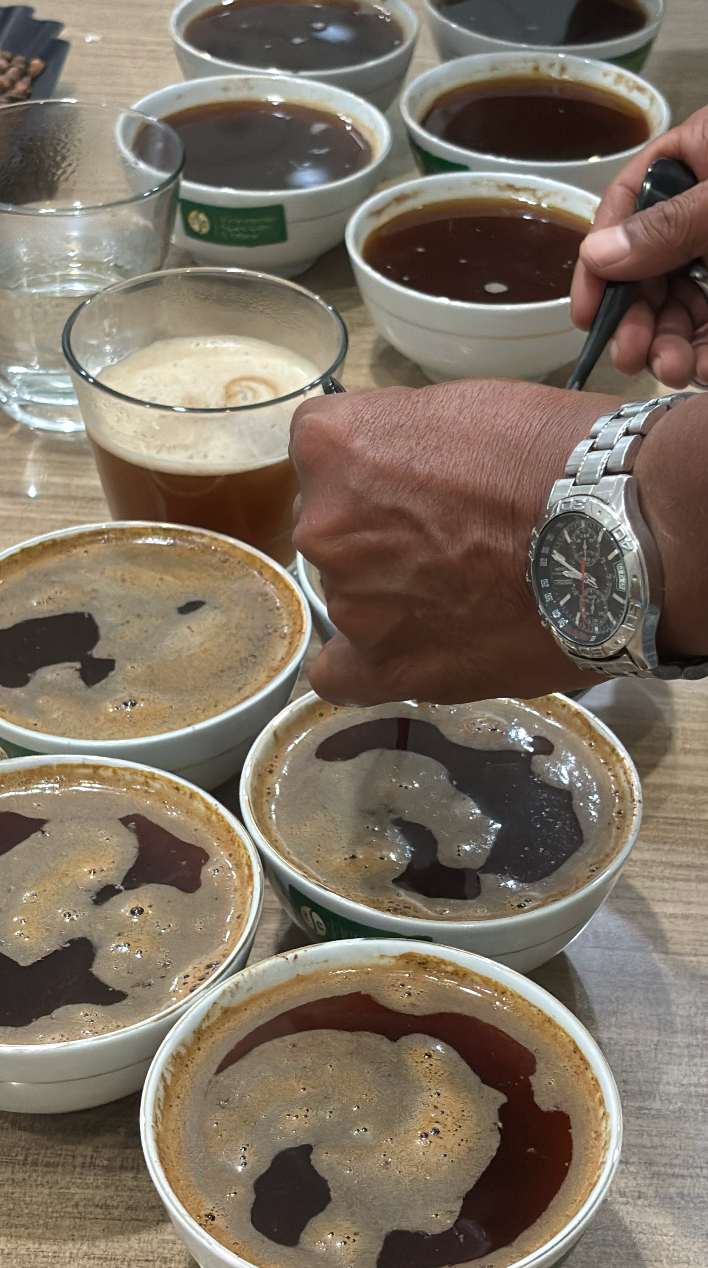
6. Slurp, Taste, and Evaluate
Use a spoon to slurp the coffee (yes, slurp!):
- This spreads the coffee across your palate and lets you assess its aroma, acidity, sweetness, body, and aftertaste
- Always rinse your spoon between samples to keep each cup clean and consistent
Take notes and compare impressions across all five cups of each variety. This is the best way to understand the full spectrum of flavor that インドネシア・コーヒー has to offer—from Gayo to Java, from honey process to full wash.
Why It Matters
Cupping isn’t just for professionals; it’s a way to connect with the bean, the farmer, and the process behind every cup. At インドネシア・スペシャルティコーヒー, we use cupping to ensure quality, consistency, and flavor excellence across our exports.
Whether you’re sampling アチェ・ガヨ, Java Ijen, or our prized コピ・ルアク, this cupping protocol is your gateway to the world of authentic Indonesian coffee.