Rediscover the Moka Pot
Is your Moka Pot sitting in the back of your cupboard, or are you looking to unlock its full potential? This classic stovetop brewer can deliver incredible coffee, bridging the gap between strong espresso and your daily drip.
Many folks find their Moka Pot coffee tastes bitter; we’ll show you exactly how to avoid this common pitfall and brew a truly delicious cup. Get ready to master the Moka Pot, from understanding its basics and choosing the right beans to the crucial “stop” moment that ensures a perfect, bitterness-free brew every time.
What is a Moka Pot and How Does it Work?
The Moka Pot, with its iconic octagonal design, has been a staple in Italian homes since its invention by Alfonso Bialetti in 1933. It’s an accessible and durable way to brew strong, concentrated coffee.
At its core, a Moka Pot consists of three chambers:
- The bottom chamber (boiler) holds the water.
- The filter basket (funnel) sits above the water and holds your ground coffee.
- The upper chamber (collector) is where the brewed coffee collects.
The magic happens through pressure-driven brewing. As water in the bottom chamber heats, steam pressure builds. This pressure forces hot water up a funnel, through the bed of coffee grounds, and finally, the brewed coffee rises into the upper chamber. You’ll hear a distinct “gurgling” sound when the brewing is almost complete. While the Moka Pot produces a robust, espresso-like coffee, it’s important to note it doesn’t achieve the high pressure of a true espresso machine.
What You’ll Need for Your Moka Pot Brew
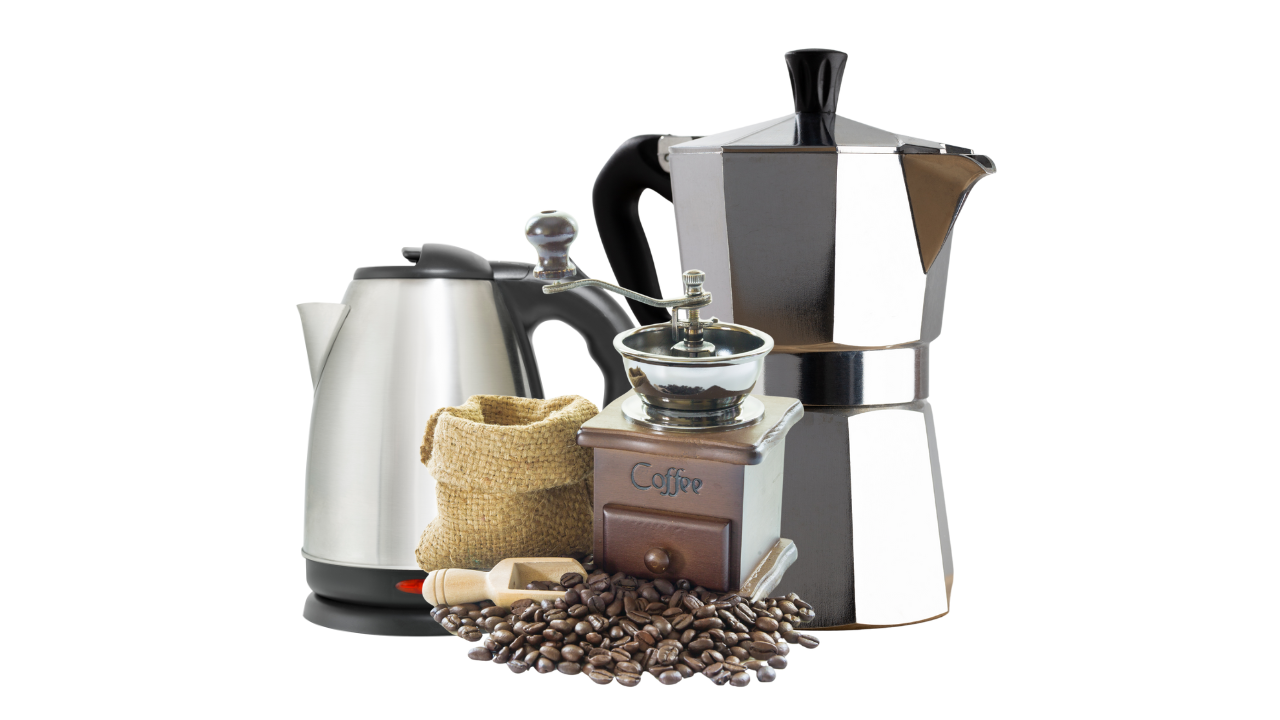
To learn how to make coffee using a Moka Pot, gather these essentials:
- Your Moka Pot: Ensure it’s clean and has a good rubber gasket for a proper seal.
- Fresh Coffee Beans: The fresher, the better for optimal flavor.
- Grinder: For that perfect, precise grind.
- Kettle: To preheat your water.
- Towel: For safe handling of the hot pot.
- Stove Burner: Your heat source.
- Cold Water Tap: Your secret weapon for stopping bitterness.
Choosing the Right Coffee Beans for Your Moka Pot
The right coffee makes all the difference for your Moka Pot coffee. Pay close attention to these factors:
Grind Size: The Bitterness Breaker
This is arguably the most crucial factor. For a Moka Pot, you need a medium-fine grind. It should feel like table salt or granulated sugar.
- Too fine (like espresso powder) will clog the filter, build excessive pressure, and lead to over-extraction and bitterness.
- Too coarse (like drip coffee grind) will result in under-extraction, giving you a weak, watery, and bland cup.
If you’re grinding at home, start with a medium-fine setting and adjust based on your brew.
Roast Level
While personal preference plays a role, medium to dark roasts generally shine in a Moka Pot.
- These roasts provide the bold, rich flavors and full body that the Moka Pot excels at extracting. You’ll often find notes of chocolate, nuts, and caramel.
- Lighter roasts can be more challenging, sometimes leading to excessive acidity or a “muddled” flavor profile due to the Moka Pot’s brewing temperature.
Coffee Bean Origin and Flavor Profile
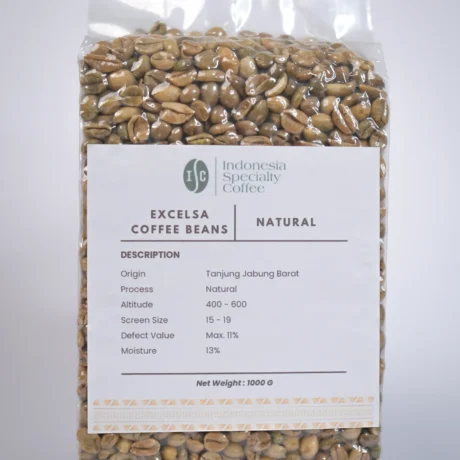
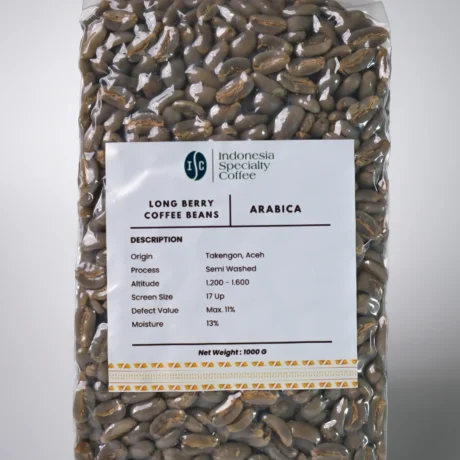
Your Moka Pot can beautifully highlight a range of origins. For a truly special experience, consider Indonesian single-origin coffees or blends that pair exceptionally well:
- Sumatra Mandheling: Known for its heavy body, low acidity, and earthy, chocolatey notes, making a bold, satisfying Moka Pot brew.
- Flores Bajawa: Often sweet, clean, and nutty, offering a balanced and enjoyable cup.
- Toraja: Expect earthy, spicy, and full-bodied characteristics that translate wonderfully in a Moka Pot.
- Bali Kintamani: Offers brighter acidity with citrus and sometimes chocolate notes. A medium roast often works best here to balance the acidity.
Many traditional Moka Pot coffees, especially Italian ones, incorporate a percentage of Robusta beans. These Arabica/Robusta blends can create a fantastic Moka Pot brew with excellent body and a pleasing, albeit not true, “crema.” Look for beans with rich flavor notes like chocolate, caramel, nuts, and a full body – these are often enhanced by the Moka Pot’s brewing method.
The Secret to Delicious Moka Pot Coffee: Step-by-Step
This isn’t just about putting water and coffee together; it’s about precision and timing.
1. Grind Your Coffee: The Bitterness Breaker
- This is where many go wrong! Do NOT grind your coffee as fine as you would for an espresso machine. Go for a grind that is just a little bit coarser than espresso grind, like fine table salt.
- Why it Matters: A too-fine grind can lead to over-extraction and that dreaded bitter taste.
2. Fill the Coffee Basket: Less is More
- Take the coffee basket and fill it with your freshly ground coffee.
- Do not push or tamp the coffee down. Simply level off the coffee in the basket. Tamping restricts water flow too much, causing pressure issues and bitterness.
3. Prepare Your Moka Pot: Cleanliness is Key!
- Sparkling Clean: Forget the myth that old coffee residue is good for flavor. It’ll only add bitterness. Ensure your Moka Pot is spotless.
- Check the Gasket: A clean, supple rubber gasket ensures a proper, safe seal.
- Storage Tip: When not in use, keep your Moka Pot loose (unscrewed) to prevent pressure on the rubber gasket, which extends its life.
4. Add Hot Water to the Bottom Chamber: Speed is Your Friend
- The Hot Water Advantage: This is a game-changer! Use hot water from your kettle for the bottom chamber. Using cold water means your coffee spends too long on the heat, leading to over-extraction and bitterness.
- Fill Level: Fill the bottom chamber with hot water just to right below the safety valve.

5. Assemble the Moka Pot: Tight and Secure
- Careful Assembly: Carefully insert the coffee basket into the bottom chamber (which now contains hot water).
- Use a Towel: The bottom will be hot, so grab a towel for safety.
- Screw it Tight: Screw the top part of the Moka Pot onto the bottom, ensuring it’s sealed nice and tight.
6. Brew the Coffee: Watch the Magic Happen
- Heat it Up: Place the assembled Moka Pot directly onto your stove burner. You want to go straight to the burner pretty quickly.
- Pressure Build-Up: The water in the bottom will start to evaporate and build pressure, pushing water through the coffee.
- The Flow: Listen and wait. Once your coffee starts to flow into the top chamber, it will look super delicious.
7. Stop the Brewing Process: The Ultimate Bitterness Stopper
- Listen Closely: As soon as you start to hear a distinct gurgling sound from the Moka Pot, it’s time to act fast.
- Immediate Action: Immediately take it off the stove.
- The Cold Shock: Run the bottom part of the Moka Pot under your cold tap in the sink. This rapidly cools the base, gets rid of the steam, and stops the brewing process, preventing over-extraction and bitterness.
Serve and Enjoy Your Perfect Moka Pot Coffee!
Your super delicious Moka Pot coffee is ready to be enjoyed!
Optional: Make a Moka Pot Latte!
- While your Moka Pot coffee is brewing, heat up some milk on the side (e.g., using a French press).
- Froth the milk using a French press (or other frothing method) until it has doubled in volume and a few bubbles are tapped out.
- Pour your Moka Pot coffee into a mug.
- Add the frothed milk to create a delightful Moka Pot latte!
Conclusion: Your Moka Pot Mastered
With these crucial tips—especially the precise grind, hot water start, and the quick cold-water stop—you’re no longer just making coffee; you’re crafting a truly exceptional Moka Pot brew. Experiment with your favorite Indonesian beans from specialtycoffee.id, and enjoy the rich, full-bodied flavors a perfectly brewed Moka Pot can deliver. What’s your favorite Moka Pot memory or tip?